You probably have a first aid kit somewhere in your home. Maybe it’s a little plastic box stuffed with band-aids, expired ointments, and a pair of rusty tweezers. It might technically be a "kit," but will it actually help in an emergency?
Here’s the truth: most store-bought first aid kits are designed to >look complete—not to save lives. And when something goes wrong, that illusion can cost you time, safety, or worse.
Let’s fix that.
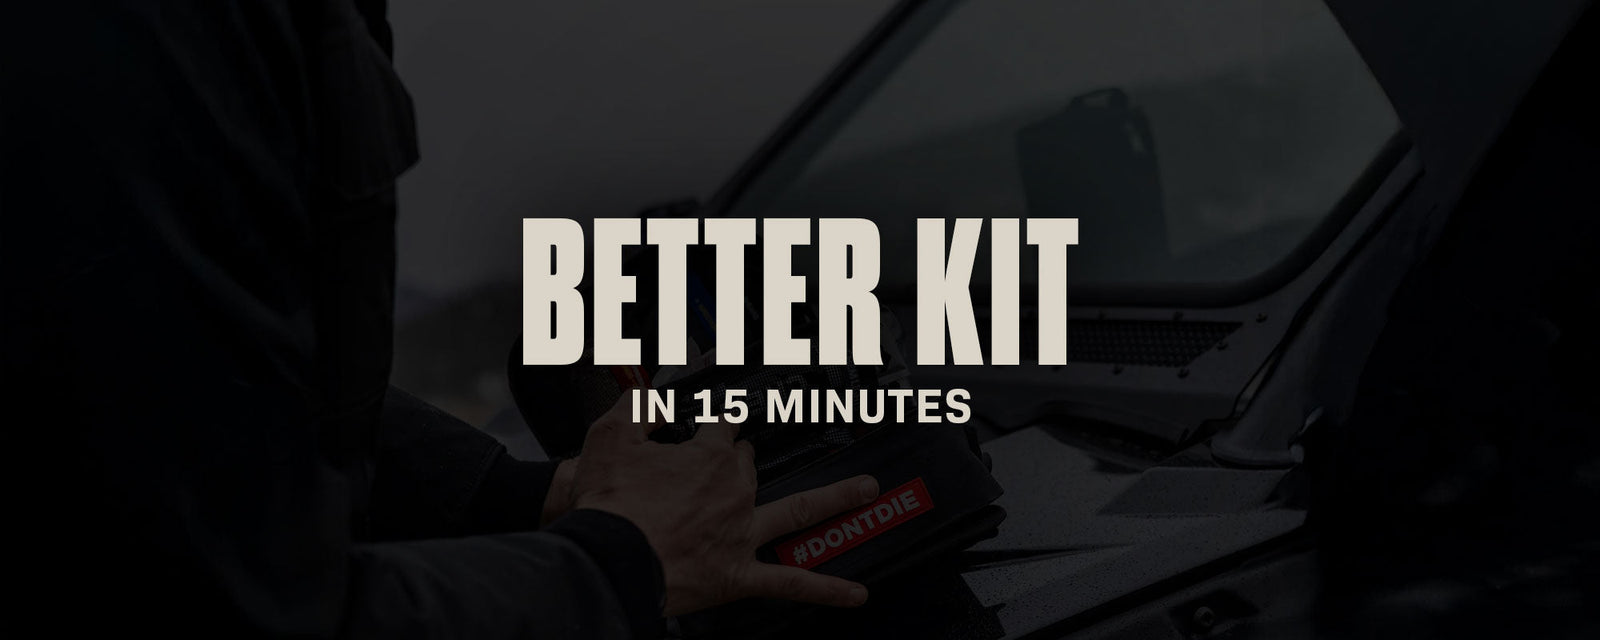
This is your 15-minute guide to building a first aid kit that actually works when it counts.
Step 1: Choose the Right Container
You don’t need anything fancy. A small toolbox, tackle box, or durable zippered pouch works great. Bonus points if it’s water-resistant and easy to carry.
Label it clearly. When seconds matter, you want zero confusion.
Step 2: Stock the Essentials
Use this list to quickly level up your existing kit or start from scratch:
Trauma and Bleeding:
- Tourniquet (CAT or SOF-T recommended)
- Compressed gauze and/or hemostatic gauze
- Pressure bandage (Israeli bandage or equivalent)
- Medical tape
- Nitrile gloves (non-latex, multiple pairs)
Wound Care:
- Antiseptic wipes or povidone-iodine
- Sterile gauze pads (various sizes)
- Adhesive bandages (assorted sizes)
- Tweezers and small scissors
- Burn gel or aloe
Medications:
- Pain relievers (ibuprofen, acetaminophen)
- Antihistamines (for allergies or reactions)
- Anti-diarrheal tablets
- Electrolyte tablets or packets
- Your family’s prescription meds (a 72-hour supply)
Tools & Extras:
- CPR mask or face shield
- Emergency blanket (mylar)
- Finger splint
- Thermometer (digital or chemical)
-
First aid manual or quick-reference card
Step 3: Customize It
Think about your family’s specific needs:
- Do you have kids? Add children’s meds and dosing tools.
- Allergies? Pack an EpiPen or similar emergency treatment.
- Elderly family members? Include extra prescriptions, glucose tabs, or mobility aids.
Step 4: Print and Pack a Cheat Sheet
Include a basic printed guide that covers:
- How to use a tourniquet
- Signs of shock and how to treat it
- How to clean and dress a wound
- When to call for help (and what to say)
You may not remember every detail in the moment. A clear, visual reference could be a lifesaver.
Step 5: Store It Smart
- Keep your kit in an easy-to-reach place
- Make sure your whole family knows where it is
- Consider making a second, smaller version for your car or go-bag
Bonus: Set a 6-Month Reminder
Check your kit twice a year (same time as your smoke detector batteries is a good idea). Replace expired meds, restock used items, and make updates as your family’s needs change.
This isn’t about paranoia. It’s about being ready.
Building a real first aid kit won’t take you all day. It won’t cost a fortune. And it might be one of the smartest 15-minute investments you ever make.
Need a head start? We carry pro-grade first aid gear trusted by medics, homesteaders, and families who take preparedness seriously.


